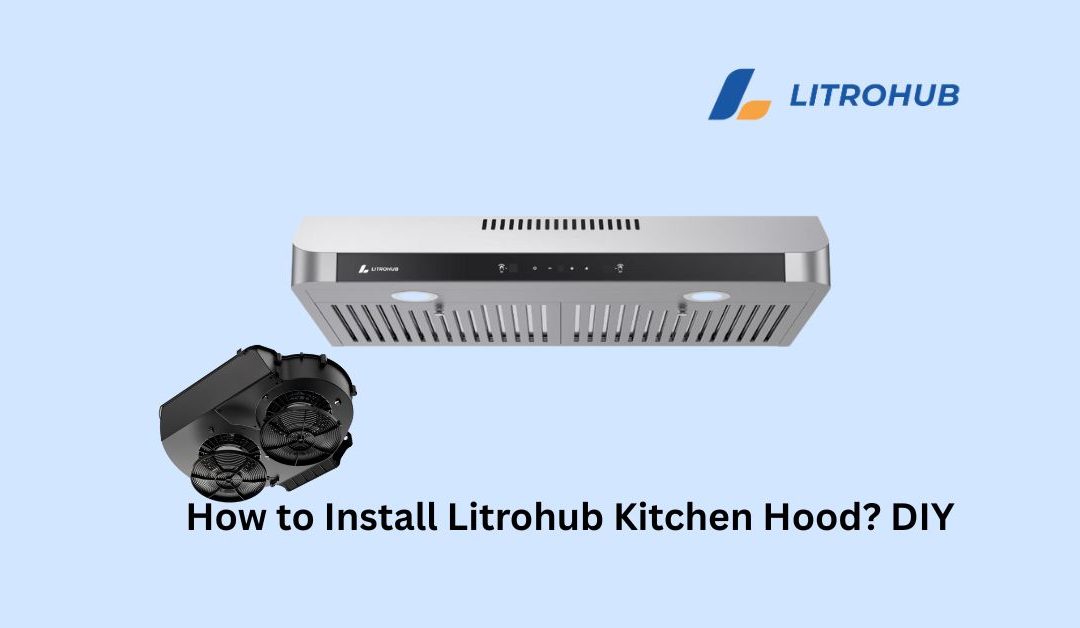
This is a simple guide how to install Litrohub Kitchen hood? Installing a kitchen hood DIY may feel overwhelming at first, but it doesn’t have to be complicated. With a few basic tools and proper knowledge, you can easily do it yourself.
A kitchen hood is a basic necessity in modern homes. Cooking releases smoke, grease, steam, and odor that can cause multiple problems if not ventilated well. The smoke, grease, and steam can attach to the kitchen wall and make it greasy and dirty. The air quality of your house can also be ruined easily. It works as a primary layer of safety for grease buildup and fire hazard.
So it is essential to take the installation process seriously and install it properly. You will get a user manual with the Litrohub Kitchen Hood. There, you can find an installation manual that will guide you throughout the process. This blog is an extension of the manual and provides more information than the installation. It includes preparation, caution, alternatives, and maintenance of your kitchen hood. This will easily explain mounting, electrical connections, and all the small steps that even a little experienced man can follow. If you follow this, you will not only have a properly functioning kitchen hood that improves the air quality but also give you the pride of completing a successful DIY job.
Tools and Materials You Will Need
Before starting the installation, it’s always a smart approach to prepare all the equipment and materials you will need for the task. Leaving the work halfway to find a tool will be irritating, and this may increase your chance of doing something wrong. Here is the complete checklist–
- Screwdriver Set: It is for tightening the screws of the kitchen hood and installing the hood in place.
- Electronic drill with Drill bits: It is for making holes for mounting screws for the kitchen hood.
- Measuring tape: It will help you measure the distance between the screws and the mounting in the correct height.
- Level: It’s to make sure the hood is mounted straight.
- Pencil or Marker: It will help you mark the spots to make a hole for the screws.
- Sturdy ladder: It will help you to reach the mounting spot easily. Alternatively, you can use a sturdy chair.
- Electrical Tape: It’s for securing the connection of the kitchen hood.
- Ducting pipe: It’s for venting air outside.
- Carbon Filter: If you are venting outside, you will not need a carbon filter. But if you are venting inside, a carbon filter will be required.
- Aluminum Duct tape: It will be necessary to seal the duct joints tightly to prevent any leak.
If you have those tools ready, time for the next step.
Safety Precautions Before You Start ( How to install Litrohub kitchen hood?)
Before you start your installation, the equipment and tools are available. You must know and follow some of the safety steps to save your home and your kitchen hood.
- Turn off the power supply from the circuit breaker. Turning off the switch is not the safest option. Turning off the circuit breaker is required for your personal safety during the installation.
- Always ground the good properly. It’s a crucial step to save yourself from electric shock. Double-check if the hood is connected to ground.
- Do not use plastic ducts in any condition. Plastic ducts can be hazardous to health and the environment, and are also prone to melting in high heat.
- Maintain a safe distance from the stove top; it should be at least 65-75 cm above the cooking surface. This is required for the effective suctioning function of the machine.
- Never vent into attics, garages, or ceilings.
- Work with caution to drill into the walls. Make sure there is no water pipe or electrical cable in the wall.
- Wear safety gloves and protective gear while working with sharp metal and ducts.
https://www.youtube.com/watch?v=OA8N5nz5DTs
How to Install Litrohub Kitchen Hood? DIY Step-by-Step Installation Process
Please follow the steps carefully.
Step 1: Turn off the circuit breaker for the kitchen hood installation. Do not work with live power.
Step 2: Unpack the kitchen hood from the box and check if all the parts are in the right condition. Remove the protective layer or film if there.
Step 3: Now time to choose your installation method. If you vent outside, set the internal adjuster to “outside” (figure A in Manual)
If you want to go ductless and use a carbon filter to pass the clear air inside, choose the “Indoor” setting. Note that carbon filters are not washable, and you will have to replace them every 3 months.
Step 4: Now decide if you want rear venting or top venting.
If you want to go for rear or horizontal venting, remove 6 rare screws and take off the rear seal plate. Then install the rear square outlet in the kitchen hood.
If you go for top venting, choose the round (Ø150 mm) or square top outlet supplied for your model. Mount it on the top and secure it with screws.
For both methods, remove the round knockout cover in the path you’ll use.
Step 5: Mark the mounting height. Ideally, it should be within 65 to 75 cm from the cooktop. If you have a gas stove, keeping it under 70 cm is standard practice.
Use a pencil or marker to mark the height and positions of the screw holes.
Step 6: Now it’s time for drilling and mounting. If you want to mount it on the wall, use the two preinstalled side brackets. Drill 2 wall holes and insert the iron expansion anchors. Then hang the hood and add screws to set it up.
If you want to mount it under the cabinet, drill 4 holes in the cabinet bottom. Secure the iron expansion anchor or screws. On slim models, attach the one-way valve before mounting if using ducting.
Step 7: Check if the hood is level. Adjust the hood if it’s not straight.
Step 8: Now time to install the venting. Make sure your home duct and hood outlet are the same size. If your home duct is smaller, use a metal reducer. Now install the vent outlet. If you are top venting, attach the round or square outlet with screws. If you are rear venting, remove the rear steel plate and screw in the square outlet.
Step 9: Now connect the duct. Always use rust-proof metal ducting for your kitchen hood. Avoid sharp bends. The metal ducts should not be bent over 90-degree angles.
Step 10: Plug into a grounded outlet with your kitchen hood. If the cord won’t reach the ground, take help from an electrician to extend it.
Step 11: Attach the decorative cover with two M4 screws.
Step 12: Now reinstall the grease filters. For a ductless setting, install the carbon filter behind the grill.
Step 13: Now time to turn off the power and test the kitchen hood. Turn on the circuit breaker. You should see the lights on button A. Try pressing B and E for dual motors and C and D for individual motors. Run briefly on high speed to check leak, noise, and airflow. Try cooking or boiling something. If you have done everything right, it should not cause any issues.
Step 14: For maintenance, clean with mild detergent and warm water every few weeks. Also, clean the grease filter from time to time.
FAQ
Can I use a plastic duct for venting the hood?
No, using plastic vents is one of the common mistakes for DIY kitchen hood projects. Kitchen hoods must contain a rustproof metal duct for venting.
Do I need a carbon filter for this hood?
If you are going ductless, then you will need a carbon filter to clean the air and release it in the kitchen. A carbon filter must be replaced every 3 months or 120 hours.
Warping Up
Installing the Litrohub kitchen hood is more DIY friendly than other kitchen hood brands. However, you need to have a clear idea about what you are doing and how it is done. This article provides a clear guideline for installing your kitchen hood. If you can follow them, you should not have any problem installing your hood. Don’t hesitate to contact us about any installation-related questions.
Read the how to maintain your range hood or best kitchen hood in Canada. To buy the most affordable and efficient range hood please check out Litrohub Affordable range hood.